If you've been following my instructions at this point you should have a little website set up on your localhost! Yay! But, we still have an issue, the only way you are able to access your website is through your localhost or typing your ip into your address bar! That's no good. Today I'll show you how to connect your ip to a DDNS which can then be connected to your domain name via the company you bought the name off of.
Step 1:
Make a No-ip account HERE
Step 2: Once you are registered and logged in, go to My Account then Host/Redirect on the top left menu bar. You will then click the "Add Host" button which will take you to another screen.
Step 3:
You will then add a host name and pick an ending (mine for example is ddns.net) presumably you know how to find your ip, but if not, here's a link . You will then imput your ip address, make sure that the "DNS Host (A) option is clicked, and add your host!
Step 4:
After waiting a couple minutes for the service to start, load your host name that you entered into the program with the proper ending (Ex. canadianpoultry.ddns.net), it should load your website! (At the moment on your computer only)
Step 5: (Optional)
An optional step that makes having a DDNS easier instead of having to log into your account every time your IP changes. It is a program that you load onto your computer that updates your ip continuously so that you will never have to worry about it again! Once again, another link HERE for the windows version. Just follow the instructions and it will load on your computer and become a small icon near your clock in the taskbar, showing you your current ip address when you click on it.
And there you have it!
Friday 16 January 2015
Thursday 15 January 2015
Screenshots. Round 2.
 Here we have the forum showing along with the fully functioning drop down menu.
 Registration menu for new users.
 User profiles with avatars able to be uploaded
 General Homepage with search bar, Login widget, and meta to the right.
 Basics of Wordpress: How to get started
I'll admit, without tutorials like these, WordPress would be a lot more complicated to run, so I've decided to give you a couple of links that I found handy:
bbPress - The most downloaded forum Plugin out there! How to install and allow users to register and post.
Themes - A very detailed explanation of where to look for themes (which are sort of like backgrounds) and how to load them to your website
Menus - Adding menus and sub menus to your headers.
Image Gallery - How to show your pictures off in a custom gallery!
Updating your website - Don't miss out on any WordPress updates again!
And to finish it off HERE is my personal favorite tutorial site for all simple things WordPress. Enjoy.
How To set up Wordpress on your localhost
So, my posts haven't been very serious lately and since apparently this is suppose to be an educational blog for people, not just writing what I think as I go along.
I've been having issues with my desktop, mostly involving the computer not wanting to make directories and various other issues. Since there are only a few more days left before the final review I decided to restart everything on my laptop, I'll try my best to explain everything that I did a little better than I have been.
My computer stats:
OS: Windows 7
Model: Gateway NE56R03h
CPU: Intel B820
500 GB HDD
Step 1:
Download WampSever Program onto your computer.
Extract file into whatever place you want (I chose /downloads because it was in there anyway)
Step 2:
When extracted, click on the pink icon. Mine says "wampserver2.5-Apache-2.4.9-Mysql-5.6.17-php5.5.12-32b" But it will vary depending on your computer model and capacity. This will bring you to a set-up menu which will ask you a few simple questions and the usual agree to terms and conditions to install.
Step 3:
Once installed, the program will run and that is fine, just exit out. Then we move on to Wordpress (install link here) after it is downloaded, extract the file into C:/wamp/www, which the wampserver program made for us. Now comes the strange part, you will now go into the wordpress folder and cut everything and paste it outside the wordpress folder into the /www folder.
Step 4:
Go to your browser and type in "localhost" into your address bar, a install screen will welcome you and simply follow the instructions, you will notice that at one point it will not continue, displaying an error screen, thats okay, now minimize the browser and click on the "show hidden icons triangle at the bottom of the screen near your time, you will see a W icon that may be orange green or red, click on the icon and a menu will come up, click the last option if it says "put online", however if it says "put offline" disregard that last instruction.
Step 5:
Click on the W icon and go into the option "phpMyAdmin". Your browser will pop up and it will take you to your localhost/phpMyAdmin. Once you are in there go to 'databases' located near the top of the page, from here there is a text box offering the option of creating a new database, type in 'wordpress' and click create.
Step 6:
Now go back to the wordpress page in your browser, press the try again button and you should be on your way again. It will ask for a directory username and password, this is where you go back to your phpMyAdmin and look on the homepage. On the right you will notice that in the information it will say root@localhost (at least mine did) you will also notice an error at the bottom that says you have no password.
Step 7:
Go once again back to the wordpress browser page and put your new found information into the appropriate places. You are now free to go! Wordpress is now set up and you should have a working wordpress account on your localhost
Tuesday 23 December 2014
Screenshots!
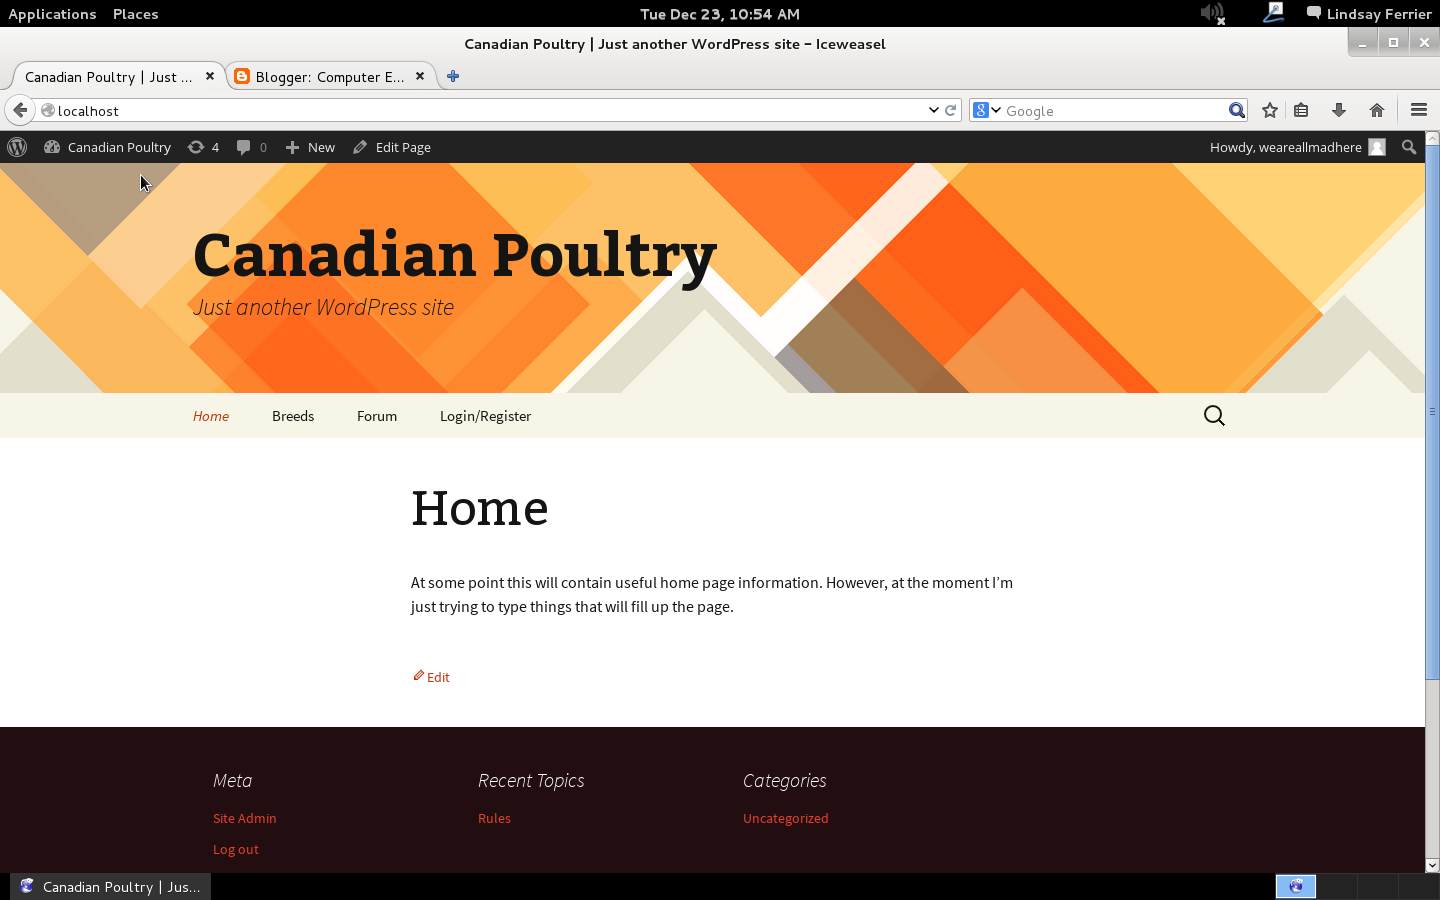 |
| Home page |
Screenshot time! As you can see, the information is not filled in, but the skeleton of the website is now complete! The home page contains Header menu, header image, search bar, multiple widgets along the footer and an eventual greeting
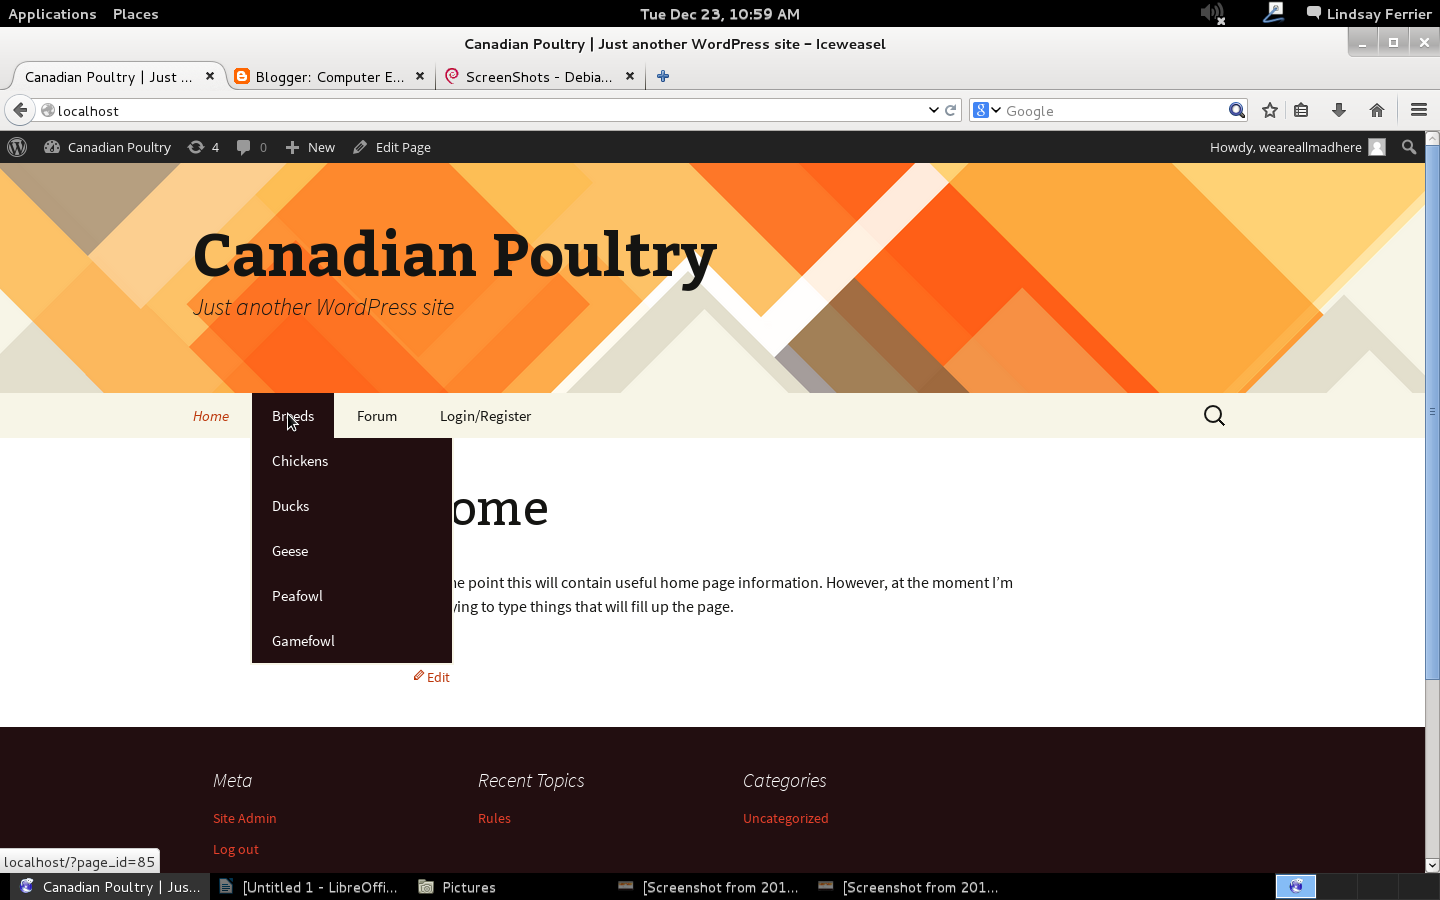 |
| Functional Slide down sub-menu |
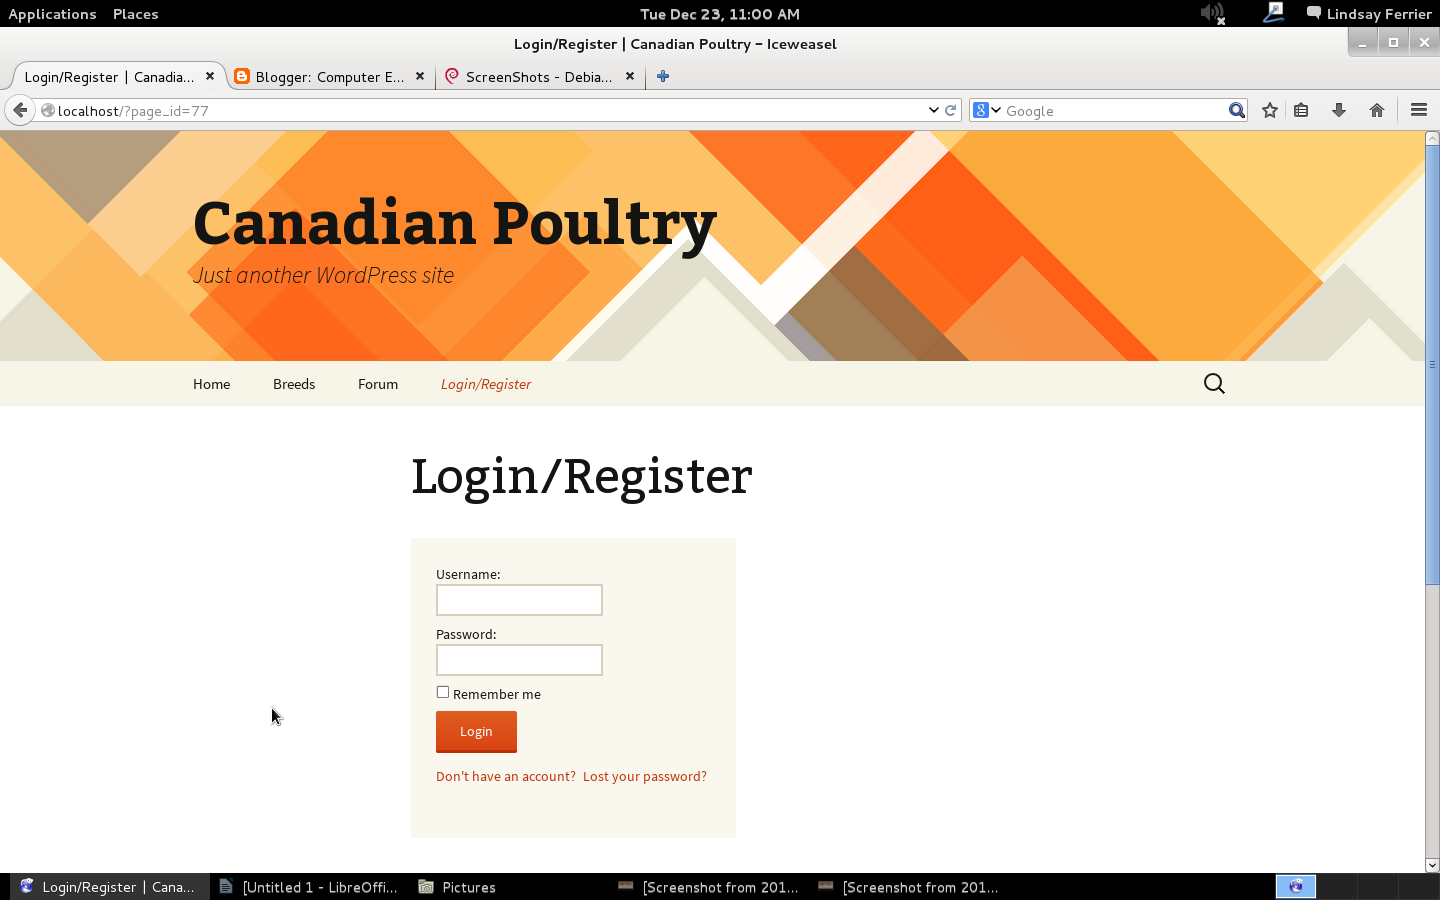 |
| Easy to get to Login/Register page |
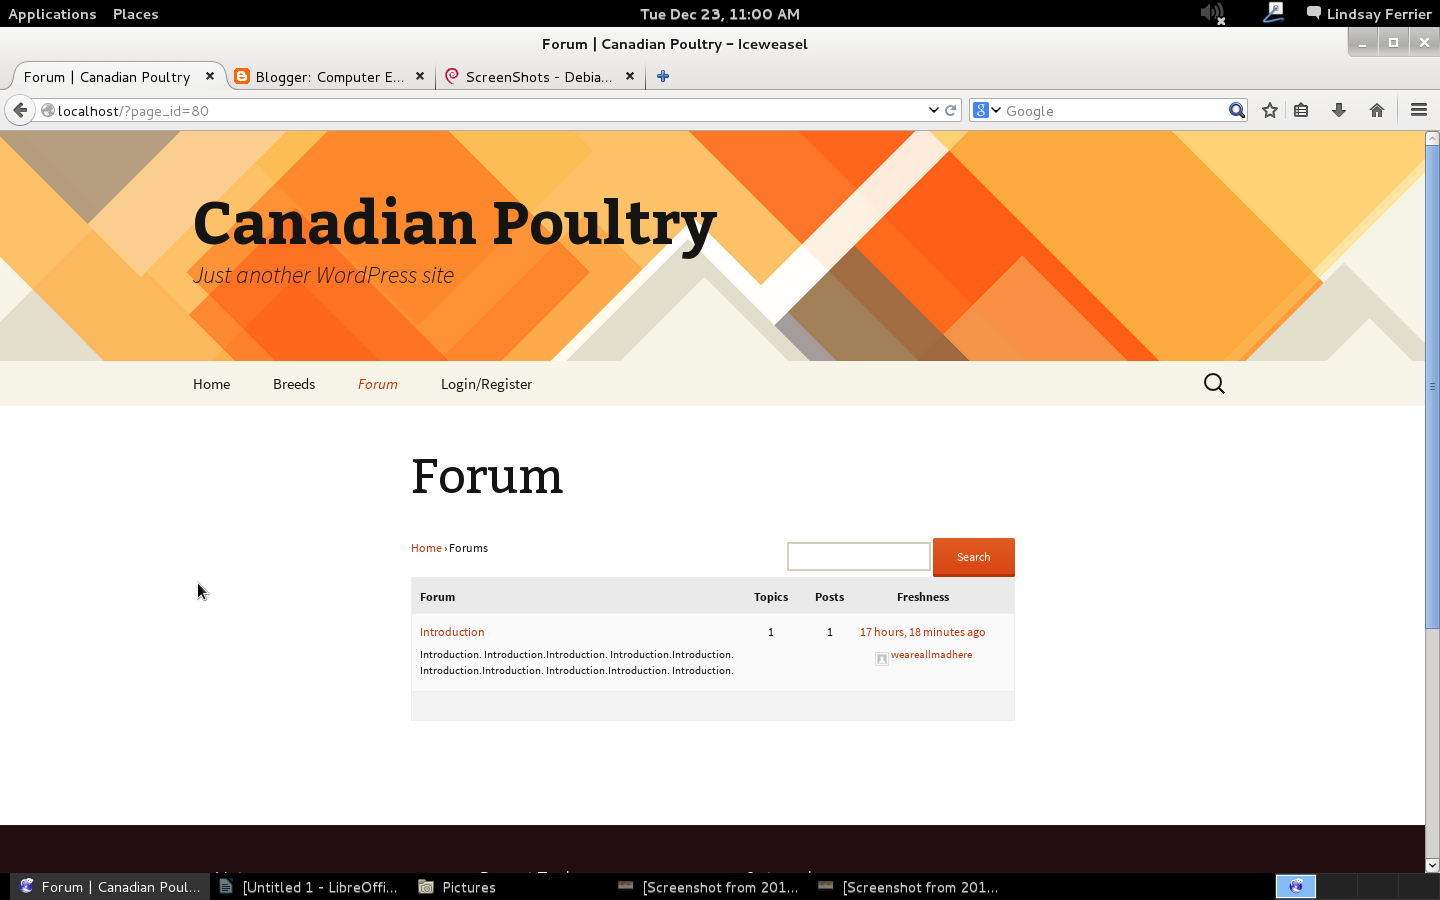 |
| Beginning of the Forum |
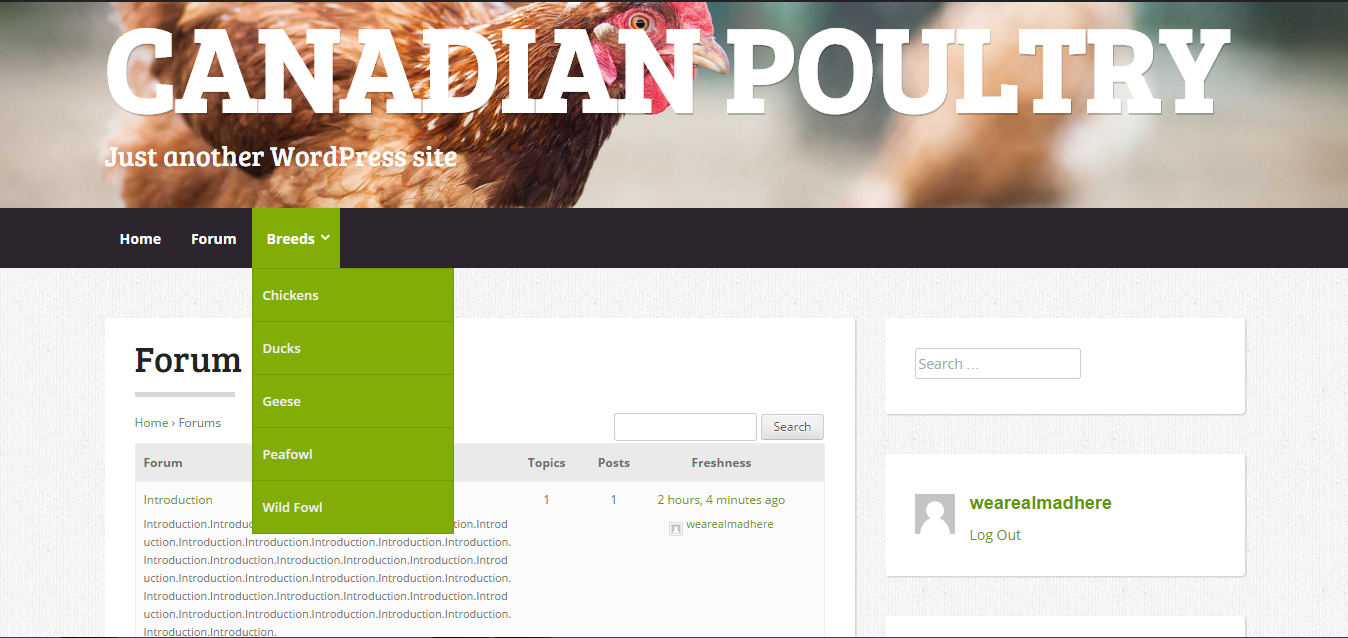
At the moment the only slide down is the Breeds menu, sliding down into types of poultry categories. However I'm inclined to think that it functions well, is attractive, and is easier on the reader who is looking for information.
Next is the easy to get to/understand login screen with a register link and forgot your password link below. This immediately send you an e-mail with your new password, and can be changed as desired.
Now the forum! With just an introduction forum at the moment it looks plain but you can see the potential, one of my next goals will be to see if it is possible to make the forum stretch across the whole entire page rather than have blog post size confinements.

And finally User Profiles. In subjects in the forum, it is possible to click a users username or avatar, which brings you to this page where you can what topics they have created, their replies in various topics as well as their favorite topics and their subscriptions.
Monday 22 December 2014
Its a Green Christmas!
When I brought my computer home for christmas I had to completely wipe the www file because for some unknown reason It was totally flipping out and now working. So another new skill was learned, where the delete button is (took me forever to figure out that It was the 'Move to Trash' button) and how to go into MySQL and re-create a database, which after a Google search or two, didn't take too long, I was pleasantly surprised. So an installation of Wordpress later I was faced with the daunting task of picking a theme, and lets just say my finickiness, it was the longest process.
After searching for hours, and yes really, hours; I ended up picking last years default theme. Then I spent 6 hours trying to edit a driver to make it work with Linux instead of Windows, but thats another story (It's still a work in progress, almost have it done though) After that It was plugin installs, which involved downloading .zip files, extracting them into the var/www/wp-content/plugin file, and then activating them in the localhost, and in the end I downloaded BBPress, a basic customizable forum, and Nice Login Widget, a login widget that allows you to put a shortcode (In that particular case [sp_login_shortcode]) which you just put in the text area and its a link to the widget without having to technically clicking on it.
Although I may make this sound like I didn't have any issues, that is not the case, I have issues with this stupid thing all the time, but apparently the more you struggle, the better you learn, I better suddenly be a genius soon because I've had my fair share of struggles with this project, I've started over from scratch multiple times because I screwed it up so badly. I just Don't write them down in detail because its slightly boring and I'm not sure of the technical names of that was wrong, an example would be just before I was writing this, I changed the permalinks in Wordpress to a custom setting, and when I kept on getting 404 errors, It took forever to figure out what was wrong (putting it back to the default permalink fixed it, lesson: Don't touch default settings that you don't know anything about.)
*Checks the spelling a million times over but still probably sounds like gibberish* Well I think that's it for the moment, now it's just filling in the information and putting the icing on the cake (Just kidding, I hate icing, more like whipped cream on Pumpkin pie)
Monday 15 December 2014
Woot! I remembered
Well, I luckily remembered to ask Perry about my CMS problem, and another CMS (Wordpress) with a forum it is!
Of course I was considering this CMS early on in the course, but didn't pick it, so it obviously had to be the easiest thing in the world to install. Download, install, extract the file in the /var/www folder and follow a couple instructions that babied you through the steps (Although I'll admit I had to ask someone how to create a new directory on Debian) So all went well!
My website is up and fine, now all I need is the forum plug in! And to get this I need a FTP server on my computer. The last part of class I tried this, and couldn't get this to work, so I gave up. But as I'm re-reading the instructions now when I'm not rushing through it, I realized I screwed up in a couple places, so tomorrow is now hopefully the day that FTP shall work! I'm crossing my fingers.
Subscribe to:
Posts (Atom)